Key takeaways
- A Phoenix attic runs 130° to 150° on a summer afternoon, and every foot of duct in it loses cooling without a single hole.
- Insulating ducts well means sealing them first, then insulating over the outside, then getting them out of the attic air wherever the attic allows.
- Wrap-on insulation and tape are a short-term patch. Insulated Duct Armor™ seals and encapsulates the duct you already have, in place.
- Not every run is worth insulating. A duct that has already failed is replaced, then protected like the rest.
If you live with uneven rooms or a cooling bill that climbs every summer, you already know why duct insulation matters. Your air leaves the air handler cold, then spends thirty feet or more in an attic that is hotter than the day outside. What arrives at the vent depends on how well the duct is sealed, how much insulation is on it, and where it sits in the attic. This article explains how we insulate ducts, why the usual do-it-yourself wrap falls short, and what we do instead.
The attic gets a vote before the air reaches you
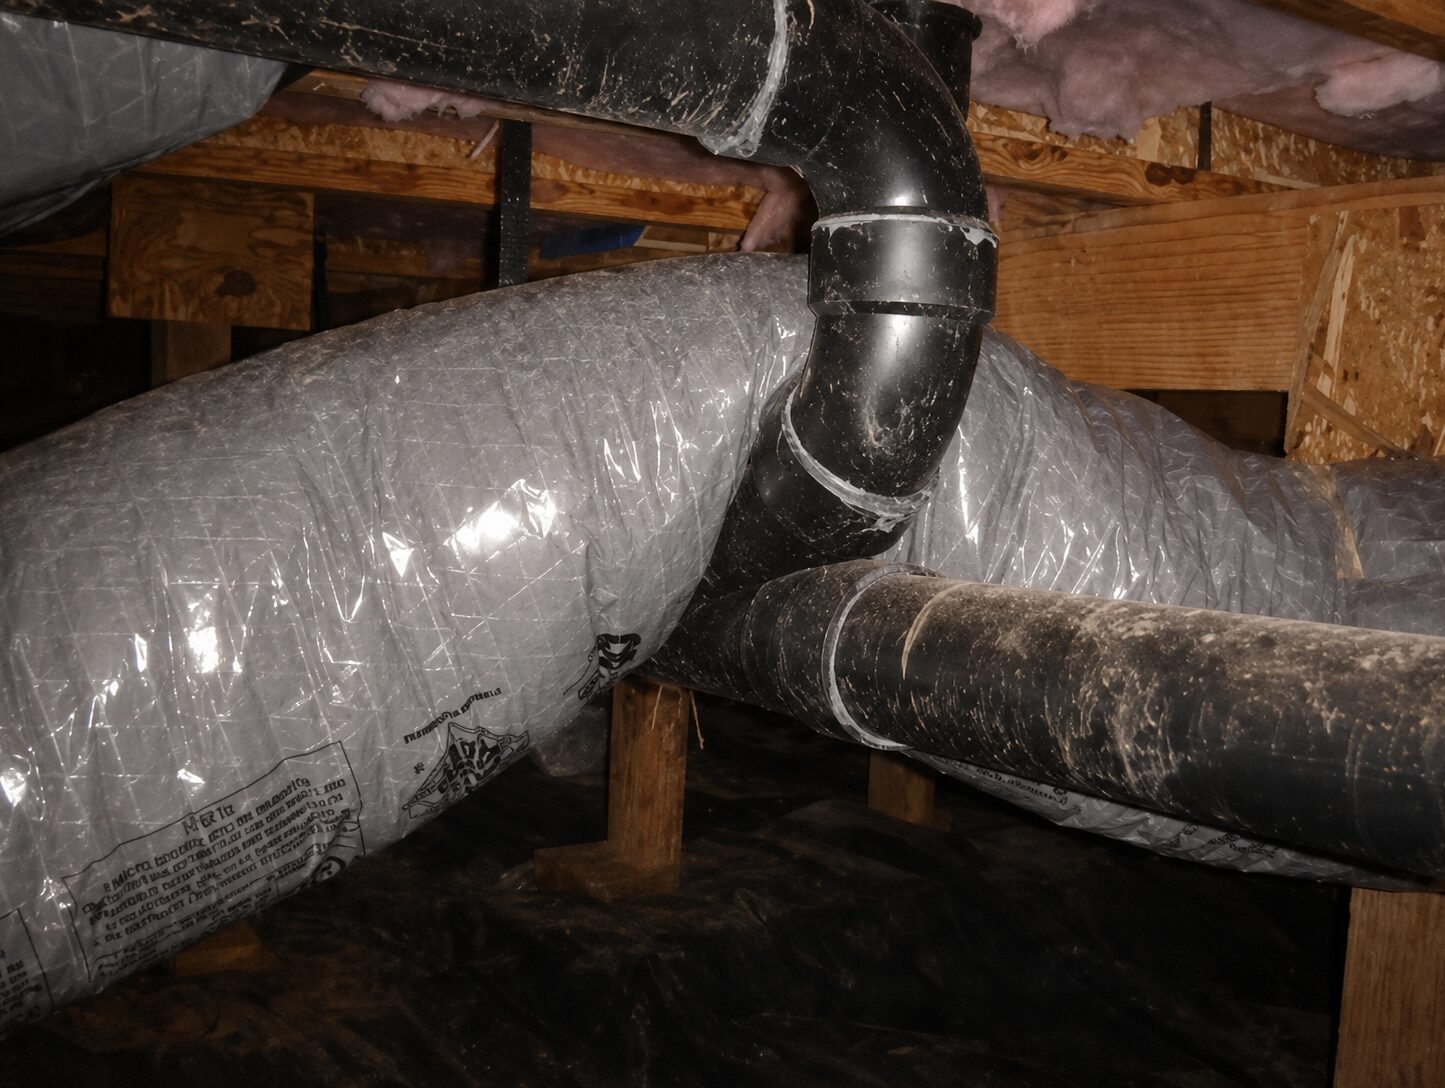
Older flex duct was built with a thin blanket of insulation and hung in the attic air. In a mild climate that is adequate. Here, the air inside spends its whole trip surrounded by 130° to 150° air. On an illustrative 30-foot run, air that leaves the unit at 55° can arrive at the vent at 66° through old, thin flex with a failing jacket. Through new, thicker flex still suspended in the attic it arrives around 60°. Sealed, encapsulated and buried in the attic insulation it arrives around 57°.
That difference is why the far bedroom never catches up on a hot afternoon, and why the system runs longer to land the same temperature. The losses peak exactly when the attic peaks, which is exactly when you need the cooling most.
First question: is the duct worth insulating?
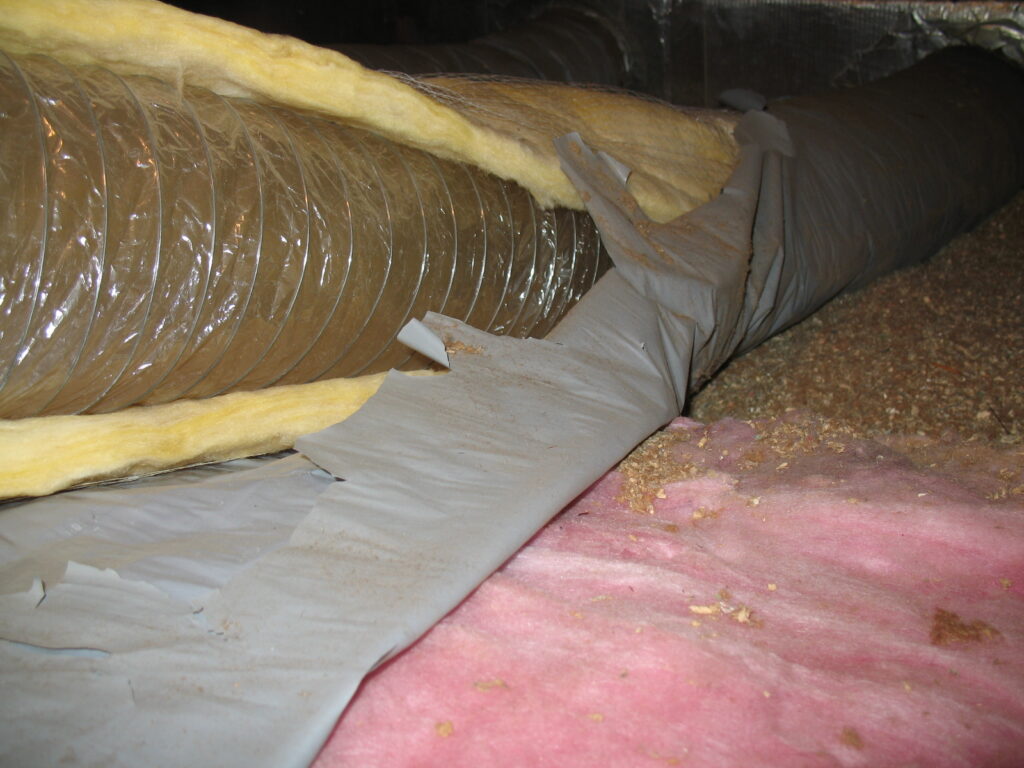
Flex duct in an Arizona attic does not fail all at once. It fails in stages, from the outside in: the outer jacket first, then the insulation it was holding in place, then the inner liner that carries the air. We rate every accessible run by the condition of those three layers before deciding anything.
- Stage 1, initial failure. The jacket is dry, brittle, cracking or flaking, but the insulation is still covered and the liner is sound. The run still delivers air. Caught here, it can be preserved with Insulated Duct Armor™ instead of replaced.
- Stage 2, partial failure. The jacket has split or deteriorated away in places, the insulation is exposed, sagging or falling out, and the liner is showing wear. Air arrives warmer on hot afternoons. Failed sections are replaced; the sound runs beside them are sealed and protected.
- Stage 3, complete failure. Jacket and insulation gone, the liner torn, separated or collapsed at the joints and vent boxes. The run is cooling the attic, not the room. Insulating it would be insulating a leak, so it is replaced, then protected like any other run.

The stage, not the age, decides. A 15-year-old run that stayed buried under insulation can be Stage 1. A 6-year-old run in the hottest corner of the attic can be Stage 3. From initial to complete failure typically unfolds over 5 to 10 years, and the jacket is the only thing holding the insulation in place. Protect it while it is intact and the run can be saved. Wait, and the same run becomes a replacement.
Why wrapping ducts yourself rarely works
The usual home-improvement approach is a roll of foil-faced wrap and a roll of tape. It fails for three reasons.
- It insulates a leaking duct. Most attic ducts were connected with tape and a strap years ago. The heat dried the adhesive long since. Wrap over a leaking joint and you have insulated the leak.
- The adhesive does not survive the attic. Tape and wrap that hold in a garage let go after a few summers at 140°, and the insulation slides off the run.
- Coverage is partial. The runs you can reach get wrapped. The plenum, the takeoff collars, the vent boxes at the ceiling and the runs under the roof deck do not, and those are often where the most cooling is lost.
How we insulate air ducts: seal, encapsulate, bury
1. Seal every connection first
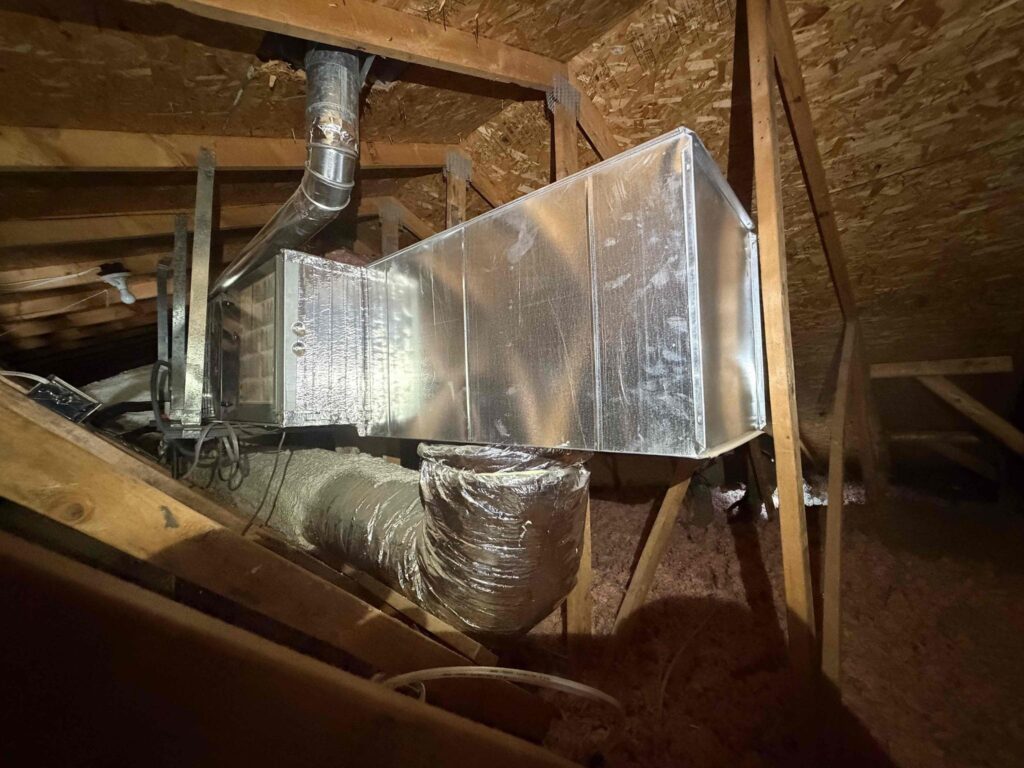
Leakage is measured with a duct pressurization test, not eyeballed. The collars at the plenum, every joint and splice, the vent boxes at the ceiling and the return side are sealed before any insulation goes on. Where a leak cannot be reached from outside, Aeroseal seals it from inside the duct, and the test is repeated to confirm it.
2. Encapsulate the run with Insulated Duct Armor™
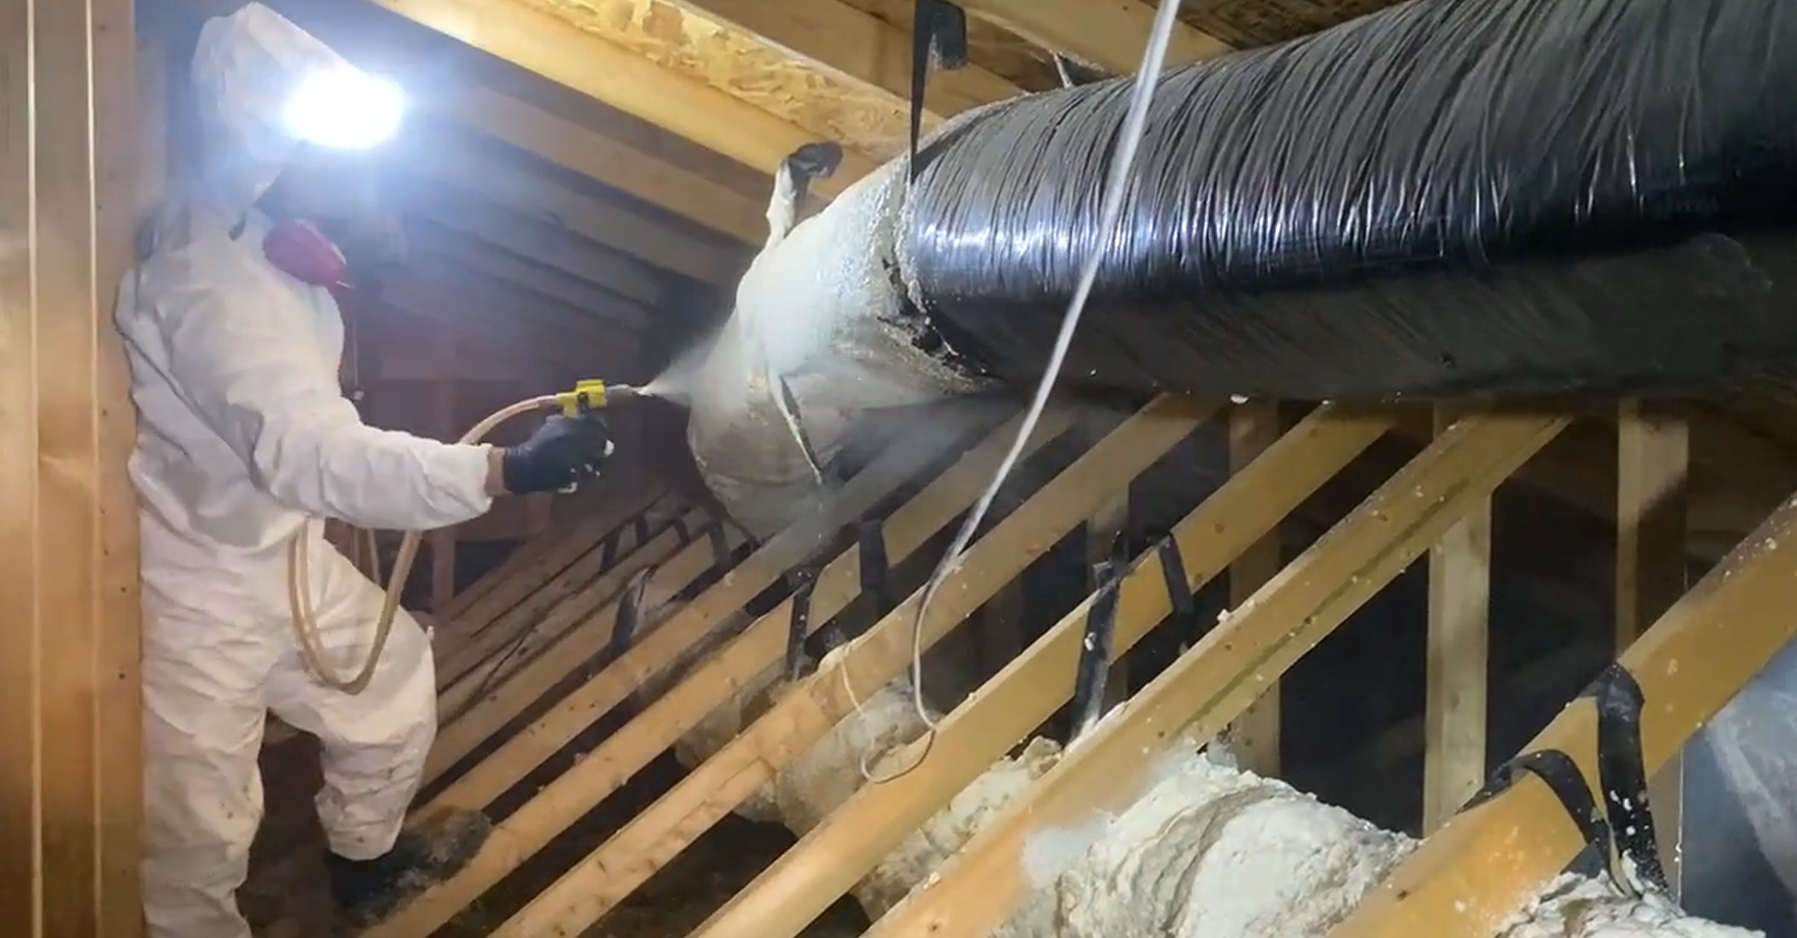
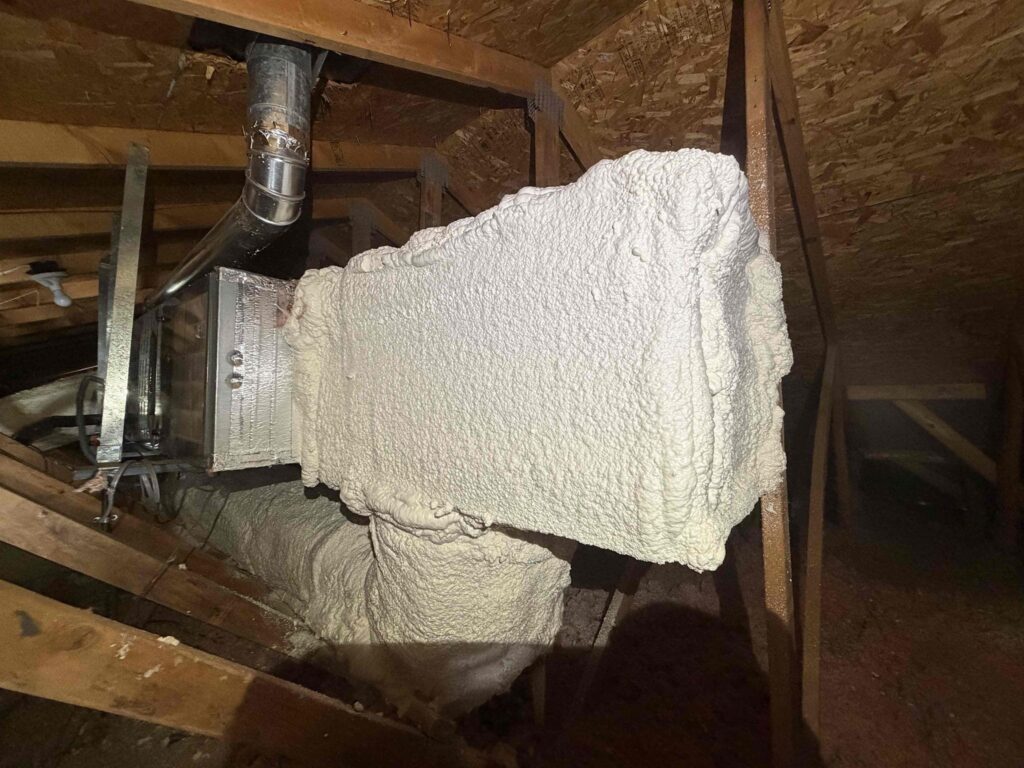
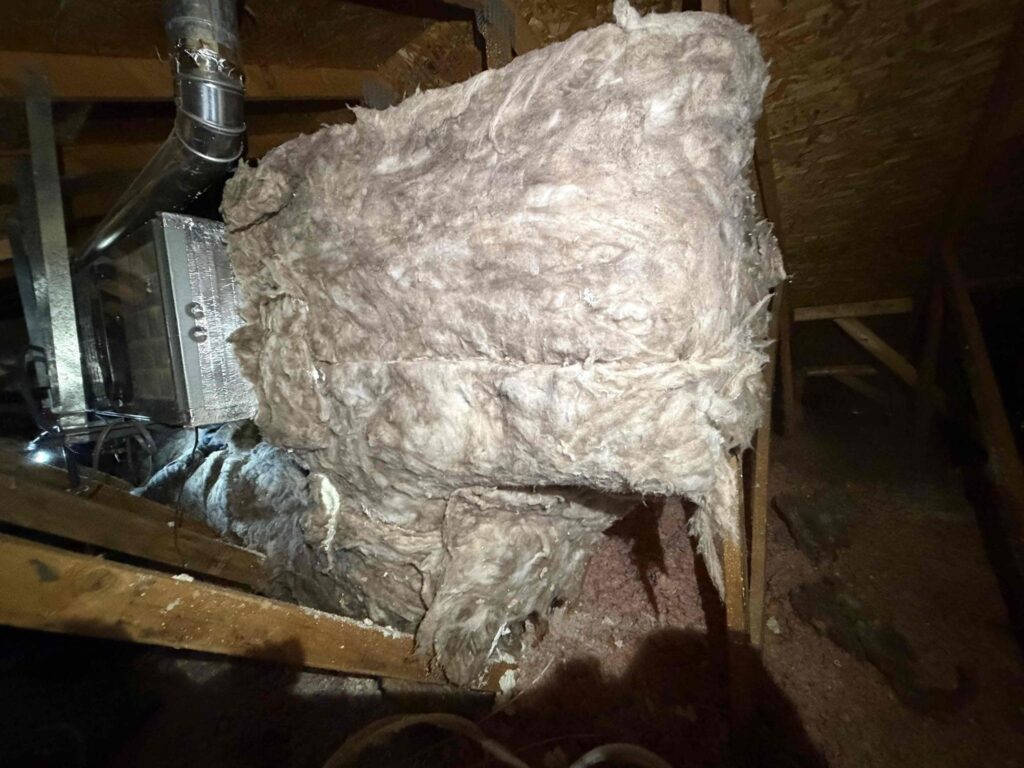
Insulated Duct Armor™ is sprayed foam applied over the outside of the existing duct. It seals every gap and connection from the outside, then encapsulates the run in an insulating barrier against attic heat. The duct you have stays in place, protected, instead of being replaced. It is the highest recommended correction in our plans because it does two jobs at once, and it is built for a 30-year-plus lifespan rather than a few summers. The plenum, the takeoffs and the vent boxes are encapsulated too, not just the runs between them.
3. Drop the ducts to the attic floor and bury them
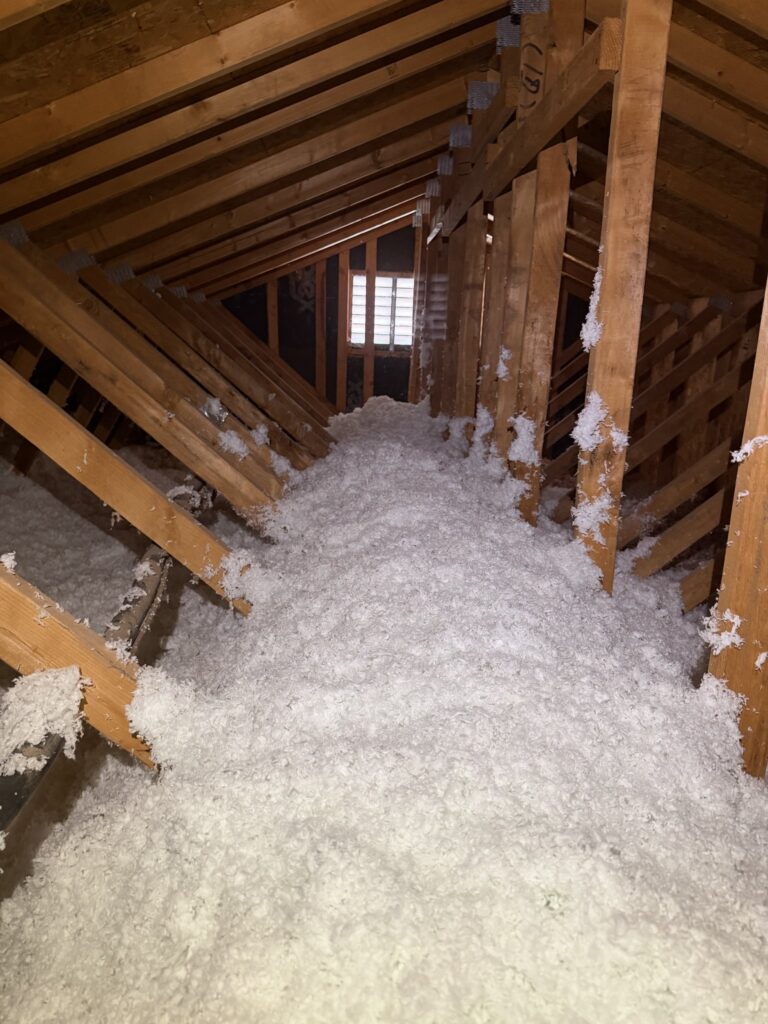
A suspended duct lives in 140° air all day. A buried duct lives inside the attic insulation, close to ceiling temperature. Wherever the attic allows, we drop the protected runs to the attic floor and bury them under new Blown-In Premium Fiberglass. Runs that must stay suspended are cocooned in Insulated Duct Armor™. Buried ducts retain the most cold, which is why the air arrives coldest at the vent in the homes where we can do it.
4. Seal the ceiling too: Insulated Attic Armor™
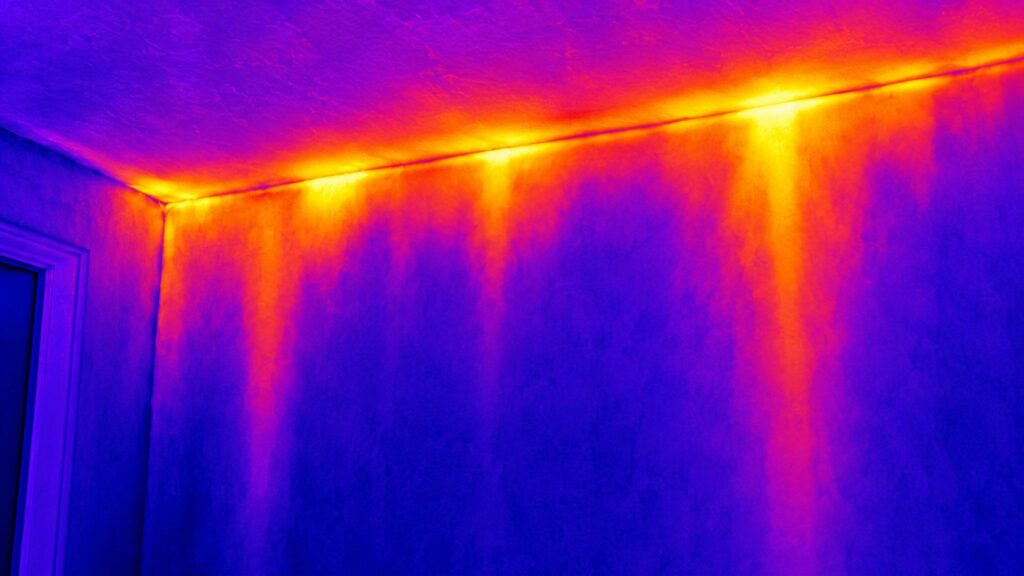
Insulating the ducts solves part of the problem. If attic air is still pouring into the walls through the open tops of the interior walls and the gaps around every ceiling opening, that heat is still reaching your rooms. Insulated Attic Armor™ is closed-cell foam applied at the wall tops and penetrations, so the ceiling plane is sealed before the insulation goes over it. The two products work together: one keeps the attic out of your air, the other keeps it out of your rooms.
5. Replace what has already failed
Some runs are too far gone to protect. A Stage 3 run, with the jacket and insulation gone and the liner torn or separated at the joints, is cooling the attic, not the room. Those sections are replaced with new, properly insulated duct, sized to the room, routed short and straight, and then protected the same way as everything else. Most homes end up with a mix: some runs preserved, some replaced, all of them protected.
What good duct insulation gets you
- More consistent cooling. The rooms at the ends of the longest runs stop falling behind on summer afternoons.
- Shorter runtimes. Air that arrives colder lands the set point sooner, so the system runs less to do the same job.
- Lower bills. Cooling that reaches the room instead of the attic is cooling you do not pay to make twice.
- Cleaner air. Sealed ducts stop pulling attic dust and insulation fibers into the system behind the filter.
How much of each you get is measured, not promised. The targets are written into your plan and backed by the guarantees you choose. The full set of duct corrections, and when each one applies, is on the Duct Services page, and Insulated Duct Armor™ has a page of its own.
Free Duct & Attic Assessment
Find out what your ducts are losing before you insulate anything.
About 2 hours, with you present. Every run staged, leakage tested, the air temperature read at every vent, the attic mapped. Then a plain-language report with photos. We do not sell or service HVAC equipment.
References
- DOE Building America Solutions Center: Ducts Buried in Attic Insulation. basc.pnnl.gov
- DOE Building America Solutions Center: Sealed and Insulated Metal Ducts. basc.pnnl.gov
- ACCA Manual D: Residential Duct Systems. Air Conditioning Contractors of America. acca.org/standards/manuals
- ENERGY STAR estimates that typical duct systems lose 20 to 30 percent of the air moving through them to leaks and poor connections. energystar.gov